PANIC GUI
Table of Contents
PANIC GUI description and goals
PANIC GUI allows the user to define configurations of the alarms. Those alarms can be saved in Tango Database and modified. PANIC GUI is gathering and managing information from all PyAlarm devices.
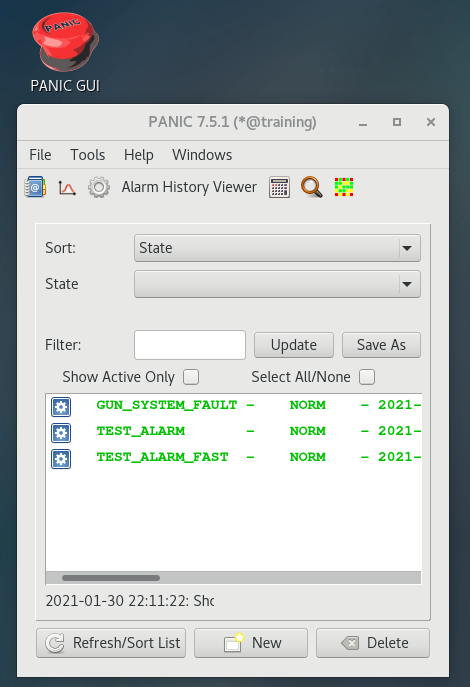
Fig. 17 Main view of PANIC GUI
GUI overview
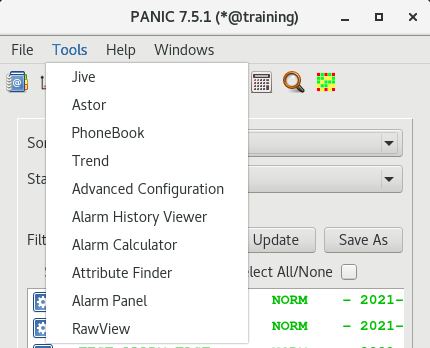
Application top bar has shortcuts to most popular options that are helpful in managing the alarms
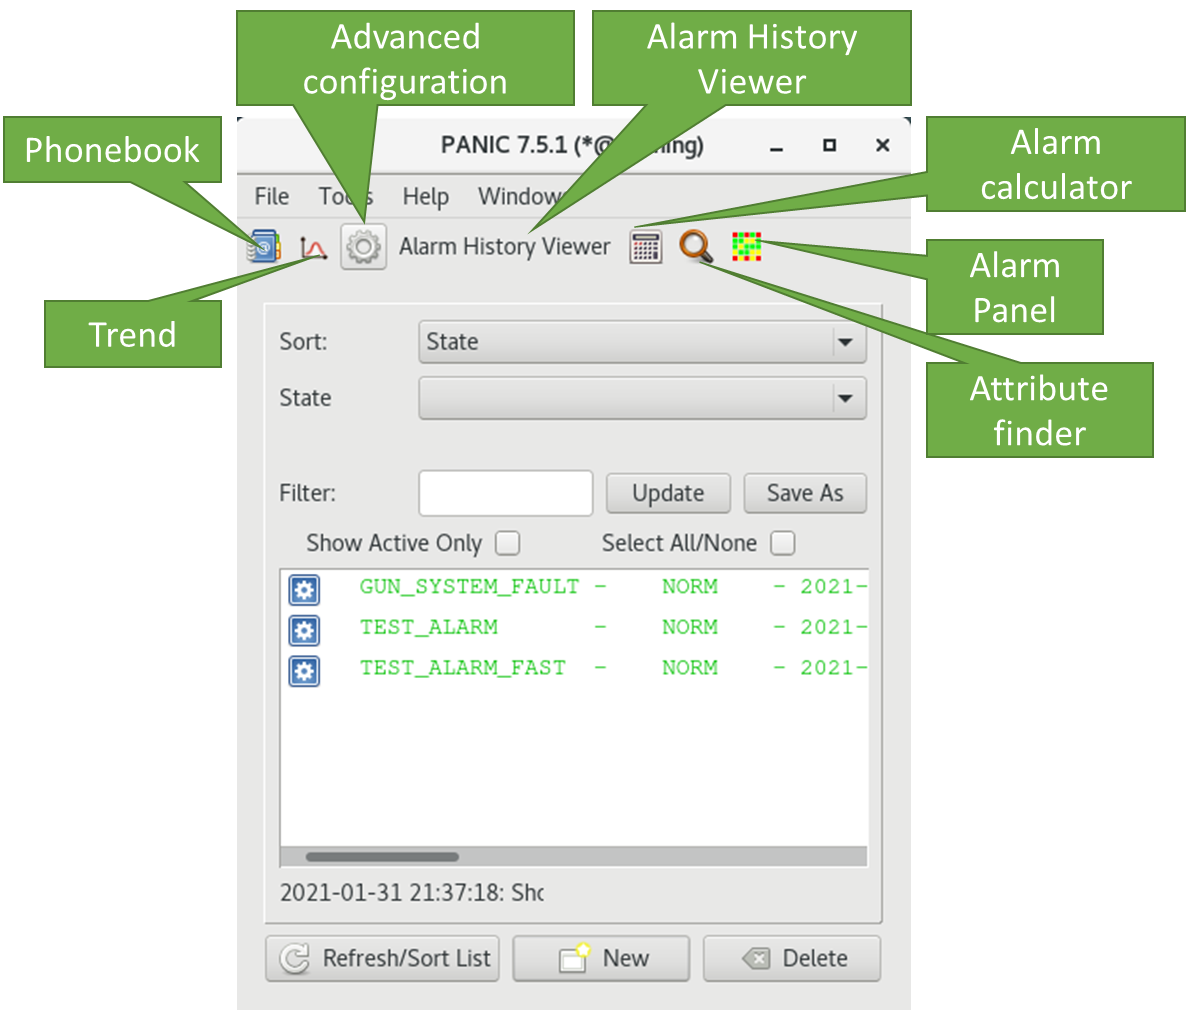
Fig. 18 PANIC GUI overview
PhoneBook
The Phonebook is tool to easy add, manage and remove receivers for alarms. Each line define one named receiver, for example:
%JAN KOWALSKI:jan.kowalski@s2innovation.com;0048123456789
After clicking on PhoneBook icon
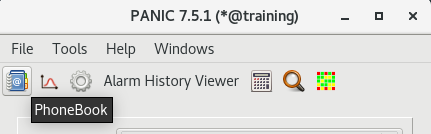
Fig. 19 PANIC GUI, PhoneBook
User can see window to add, edit or remove receivers
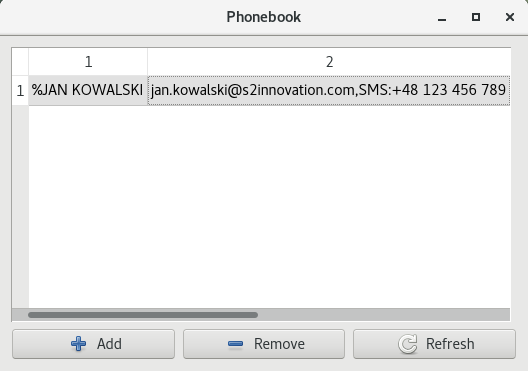
Fig. 20 Phonebook main window
After clicking on Add button user can add new receiver
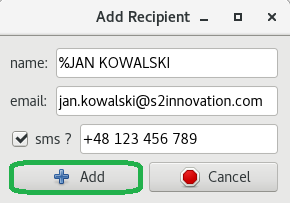
Fig. 21 Phonebook add resceiver
Trend
After clicking on Trend icon
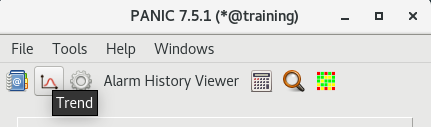
Fig. 22 PANIC GUI, Trend
User can see Trend window of provided device attribute
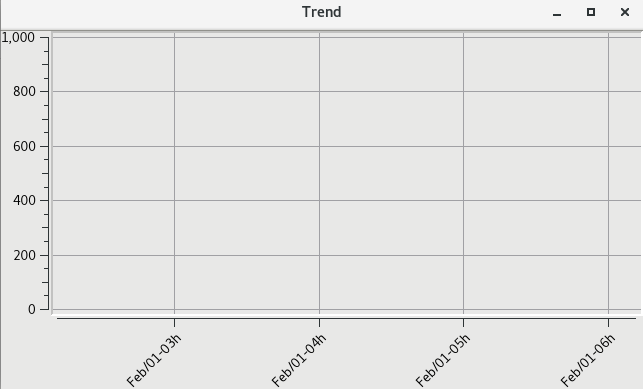
Fig. 23 Alarms trend main view
Advanced configuration
After clicking on Advanced Configuration icon

Fig. 24 ANIC GUI, Advanced Configuration
User can select PyAlarm device and manage configuration
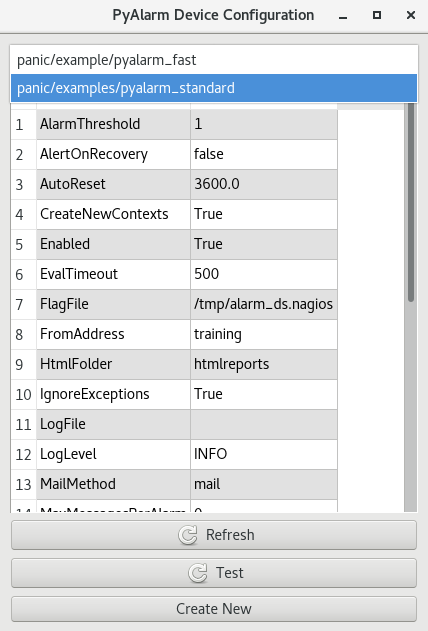
Fig. 25 PyAlarm Device Configuration
Alarm History Viewer
After clicking on Alarm History Viewer icon
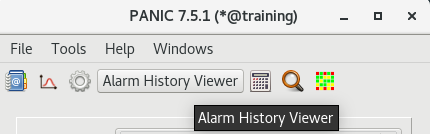
Fig. 26 PANIC GUI, Alarm History Viewer
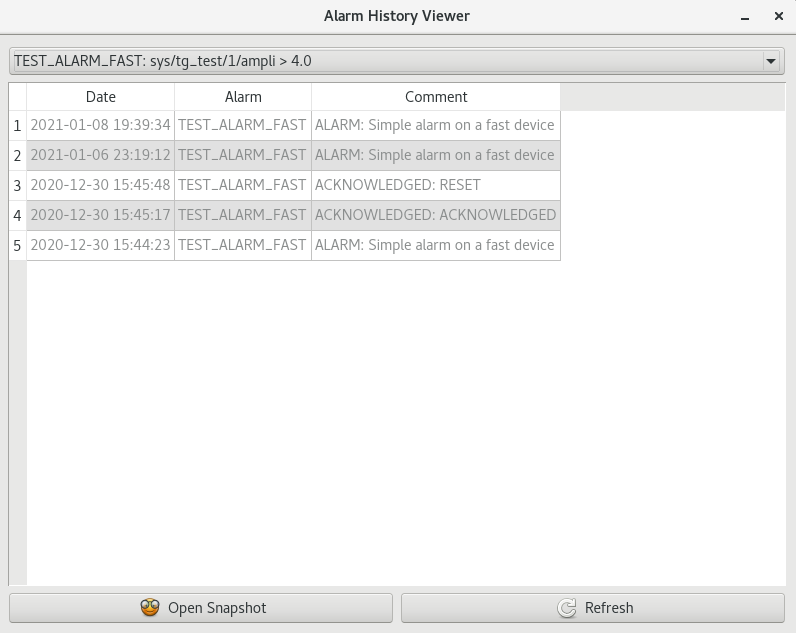
User can see all available alarms history or select alarm and check history of chosen alarm.
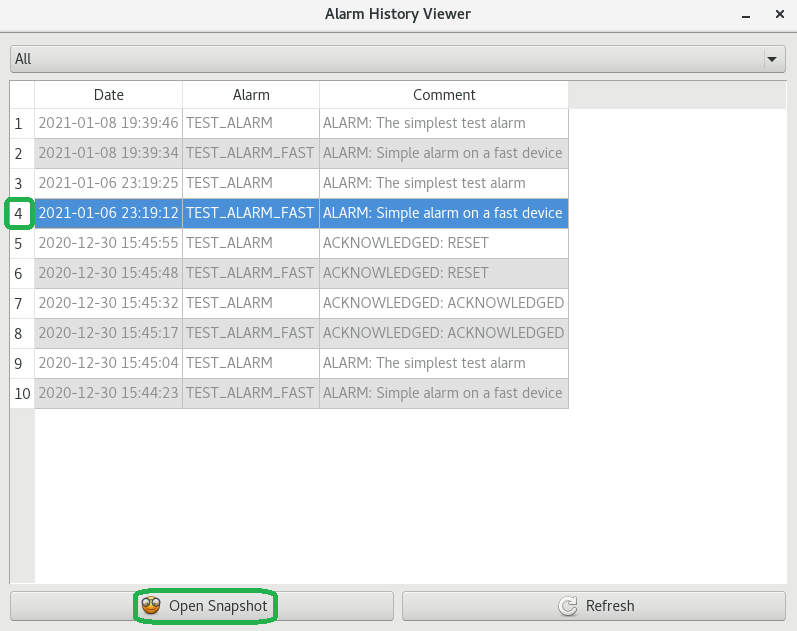
Fig. 27 Alarm History Viewer
After clicking on number in first column and next Open Snapshot button, user can see context of selected Snapshot.
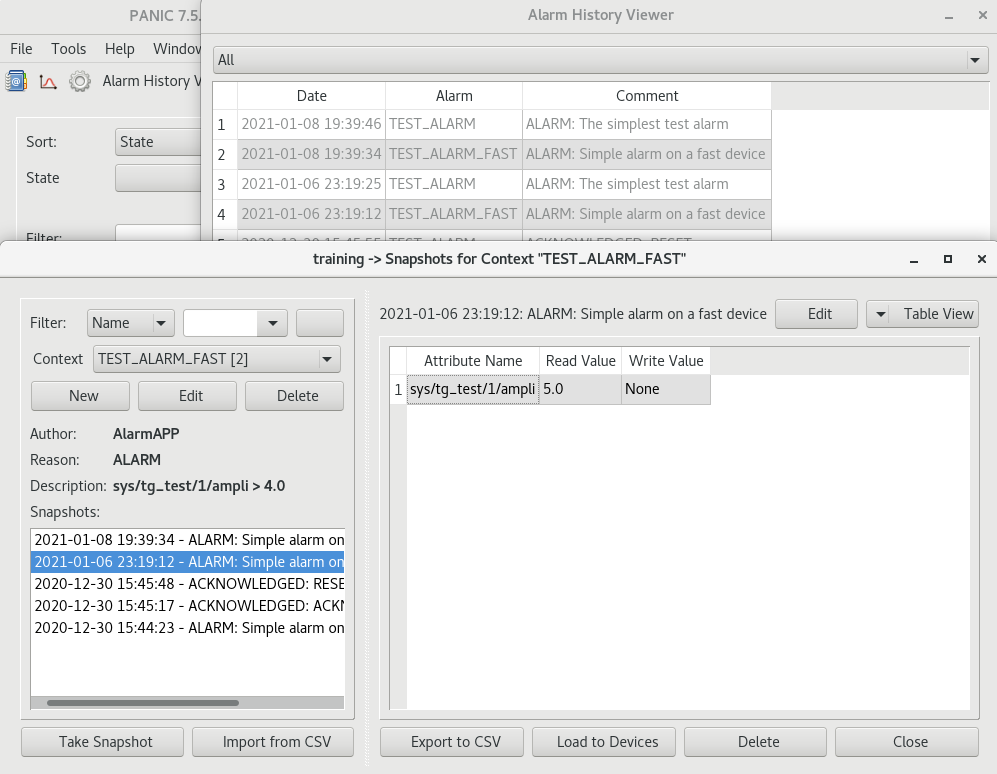
Fig. 28 Snapshot of selected alarm context
Alarm Calculator
After clicking on Alarm Calculator icon
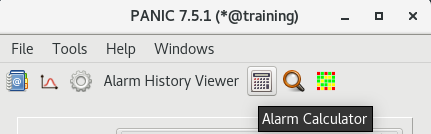
Fig. 29 PANIC GUI, Alarm Calculator
User can create and validate formula of the alarm.
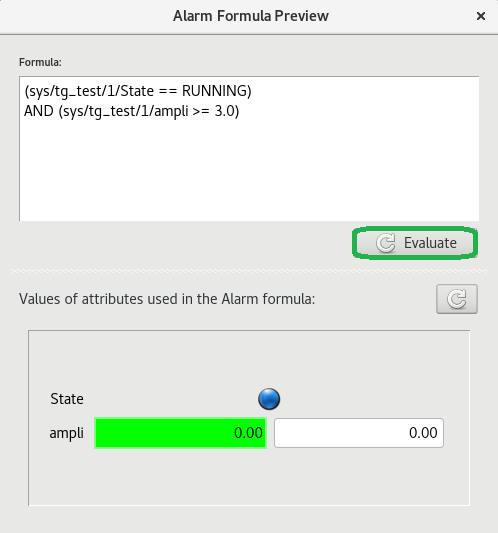
Fig. 30 Alarm Formula Preview
After clicking on Evaluate button user can validate to verify that provided formula will trigger the alarm.
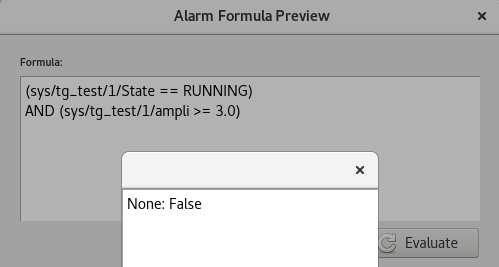
Fig. 31 Evaluate of alarm formula
Attribute Finder
After clicking on Attribute Finder icon
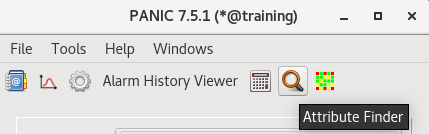
Fig. 32 PANIC GUI, Attribute Finder
User can search for devices and attributes using wildcards
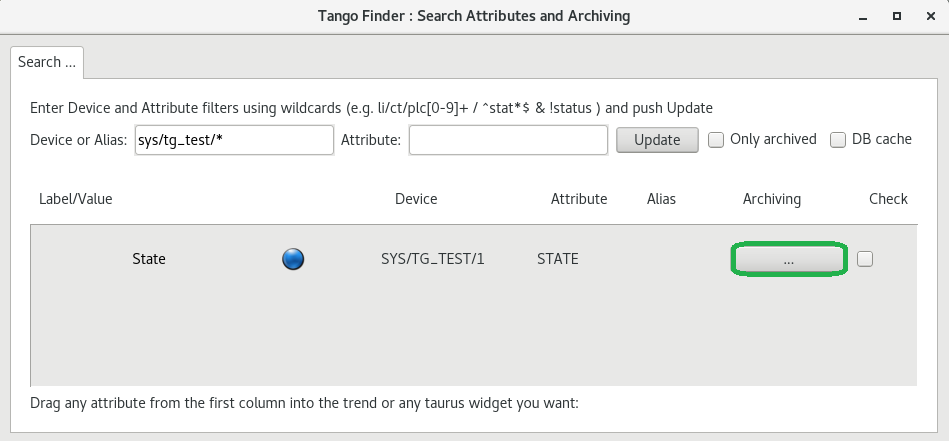
Fig. 33 Attribute Finder
After clicking on button in Archiving column user can verify that selected attribute is archived.
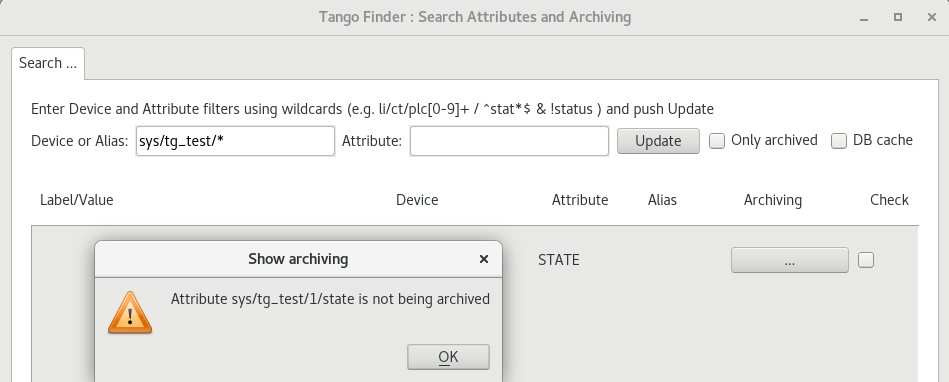
Fig. 34 Verify attributes archived
Alarm Panel
After clicking on Alarm Panel icon
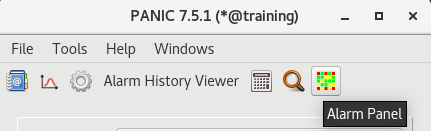
Fig. 35 PANIC GUI, Alarm Panel
User can open window showing state of configured alarms.
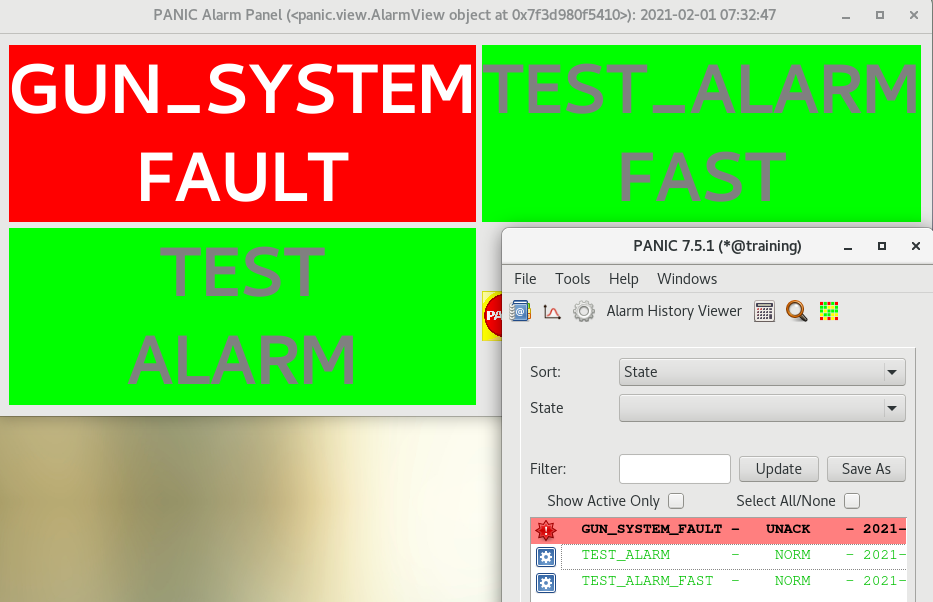
Fig. 36 PANIC Alarm Panel
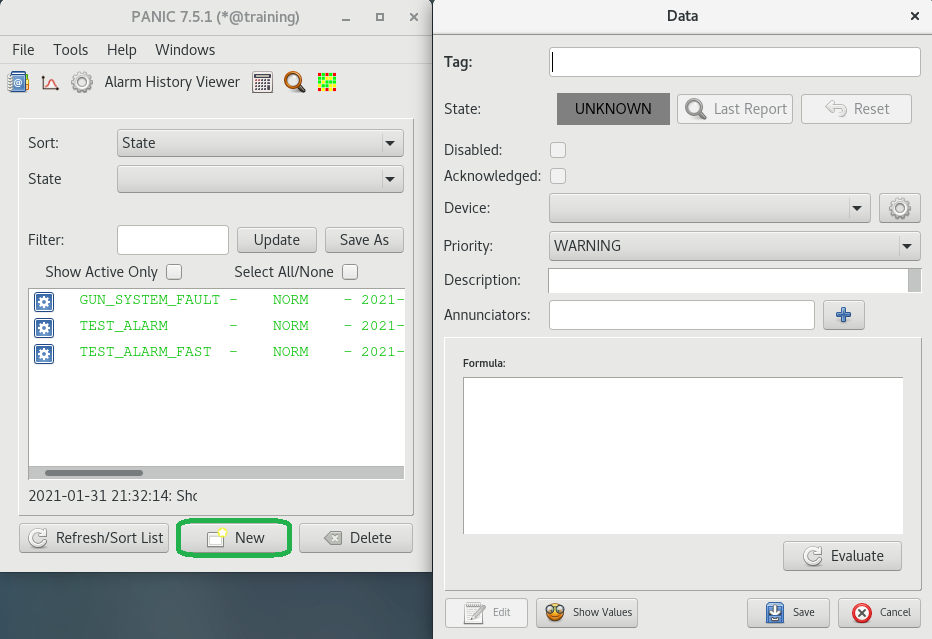
Alarm edit/details panel
After double-click on selected item on alarms list
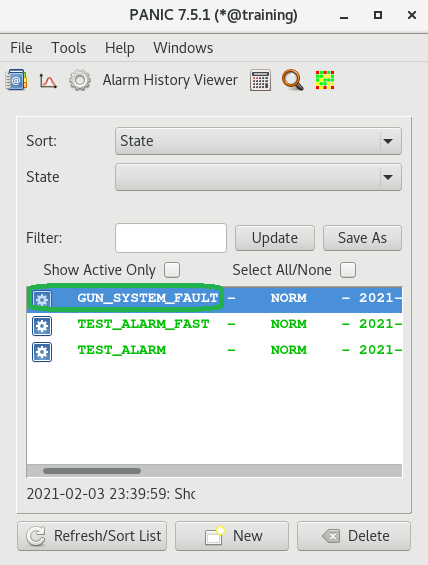
Fig. 37 Alarms list
User can check details of an alarm.

Fig. 38 PANIC GUI, view alarm details
After clicking on Edit button user can edit selected alarm
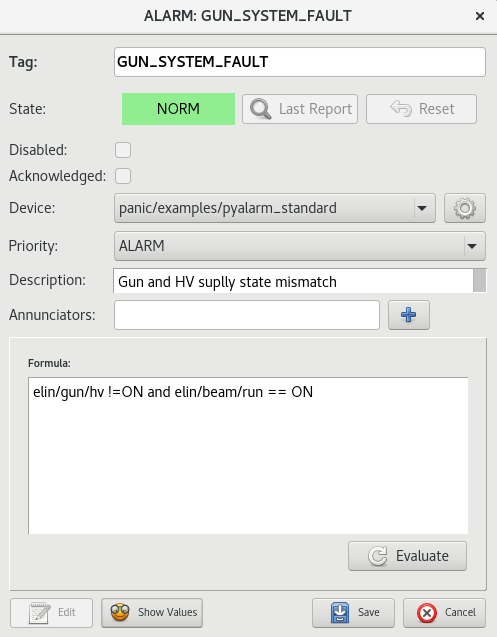
Fig. 39 Edit alarm
User can e.g. modify formula of selected alarm
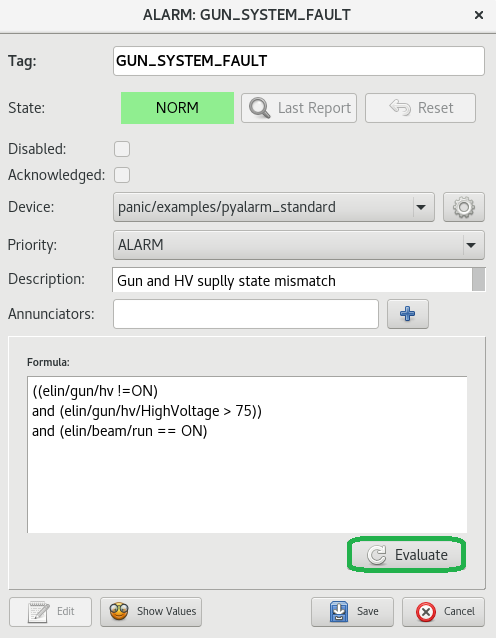
Fig. 40 Modify formula
After clicking on Evaluate button user can verify provided formula
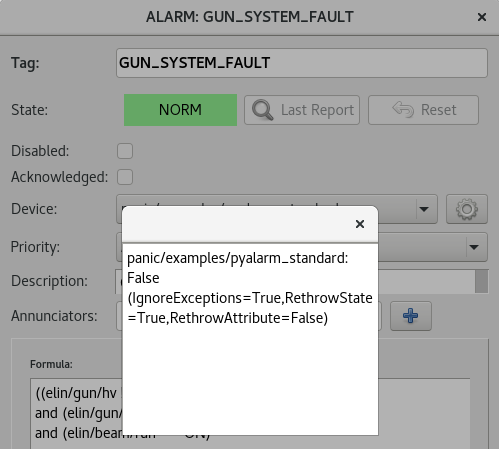
Fig. 41 Evaluate formula
After clicking on Save button user can store modification.
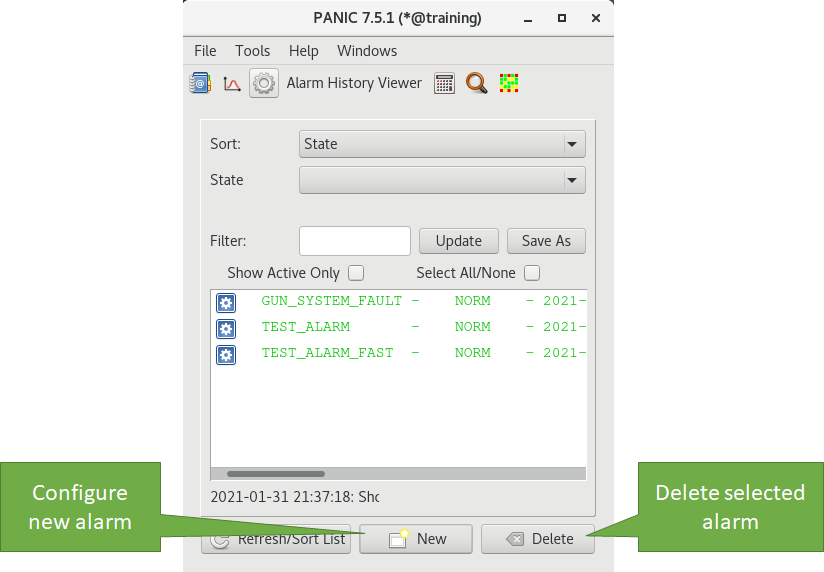
Configuration of the alarms list
User can customize list of presented alarms list.
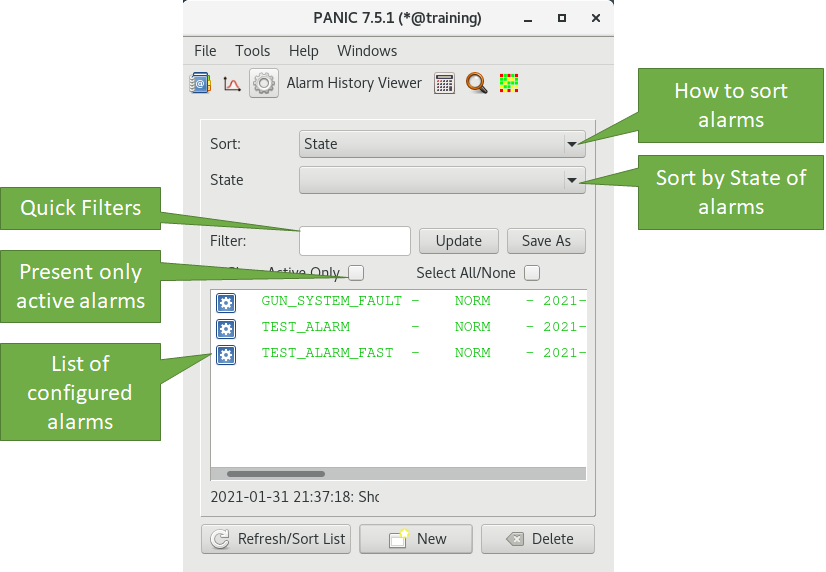
Fig. 42 Configuration of presented alarms
Sorting
After clicking on drop-down list
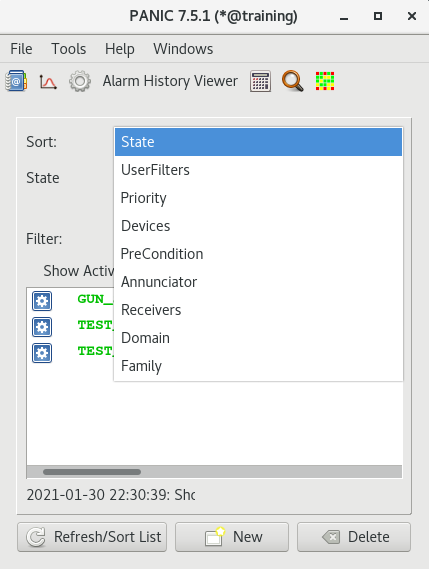
Fig. 43 Sorting alarms
User can sort alarms by:
State
UserFilters
Priority
Devices
PreCondition
Annunciator
Receivers
Domain
Family
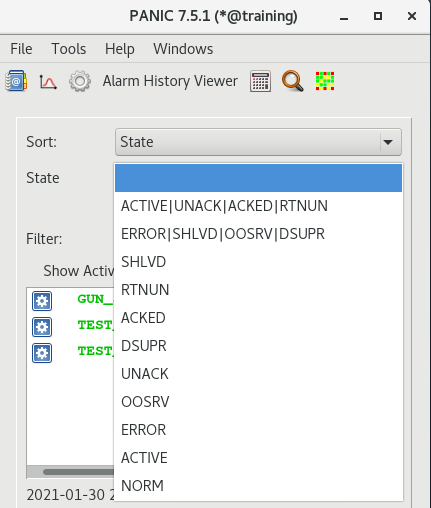
Fig. 44 State
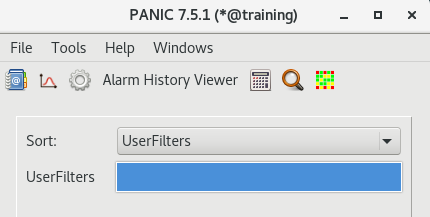
Fig. 45 UserFilters
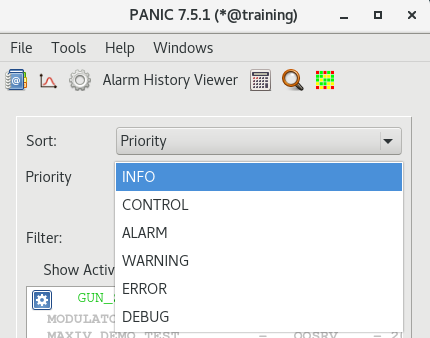
Fig. 46 Priority
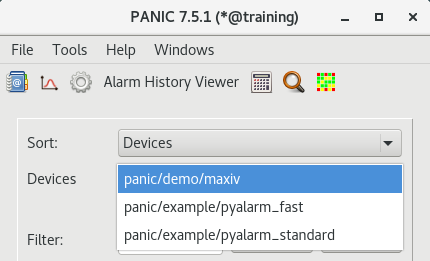
Fig. 47 Devices
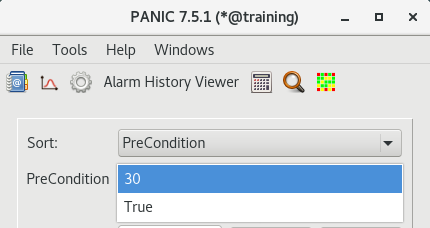
Fig. 48 PreCondition
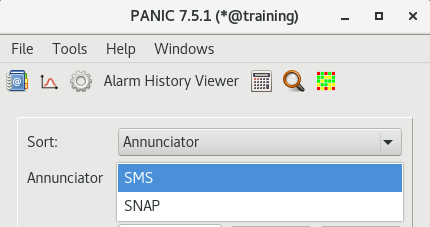
Fig. 49 Annunciator
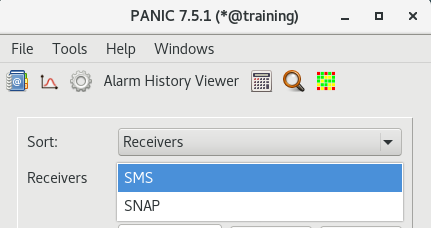
Fig. 50 Receivers
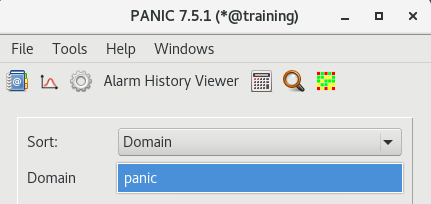
Fig. 51 Domain
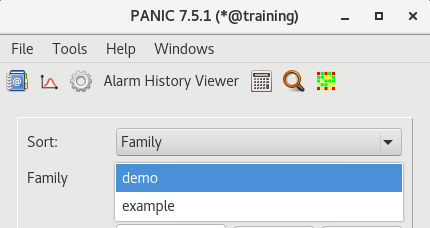
Fig. 52 Family
Filters
After clicking on filter text box:
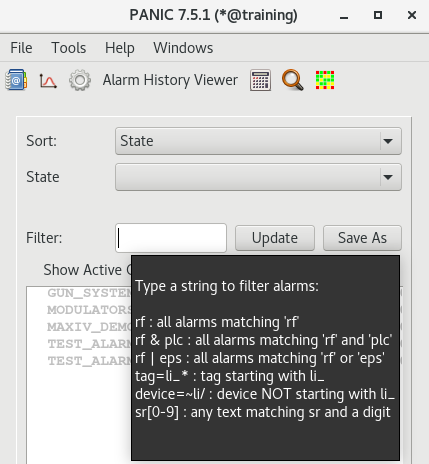
Fig. 53 Filters
User can create quick filter and save it.
Show active alarms
After clicking on Show Active Only checkbox.
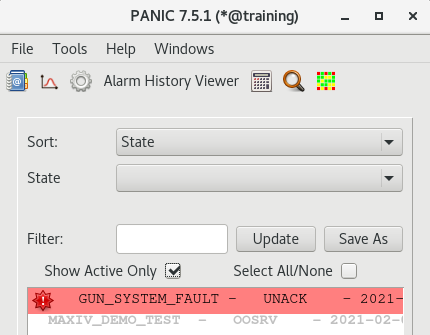
Fig. 54 Show active alarms
User can see only active alarms.
Context menu
After right click on selected alarm on the list
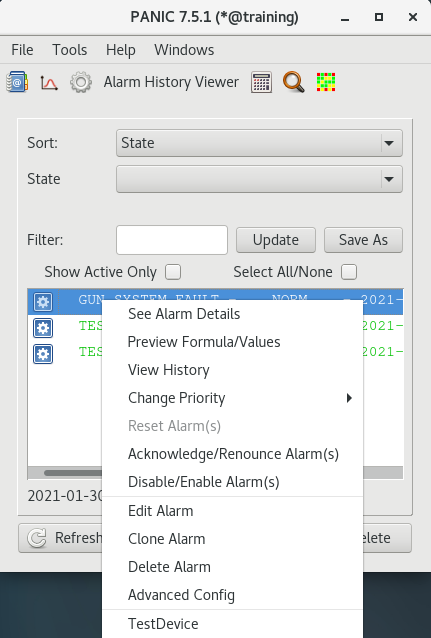
Fig. 55 Alarm details
User can choose:
See Alarm Details
Preview Formula/Values
View History
Change Priority
Reset Alarm(s)
Acknowledge/Renounce Alarm(s)
Disable/Enable Alarm(s)
Edit Alarm
Clone Alarm
Delete Alarm
Advanced Config
TestDevice
Alarm Details
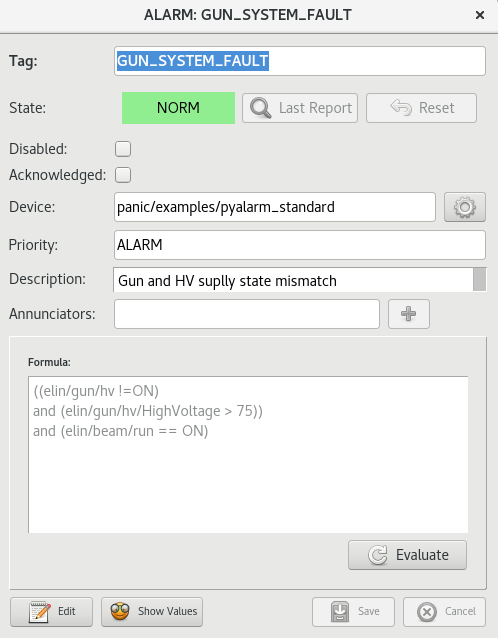
Fig. 56 PANIC GUI, view alarm details
Preview Formula/Values
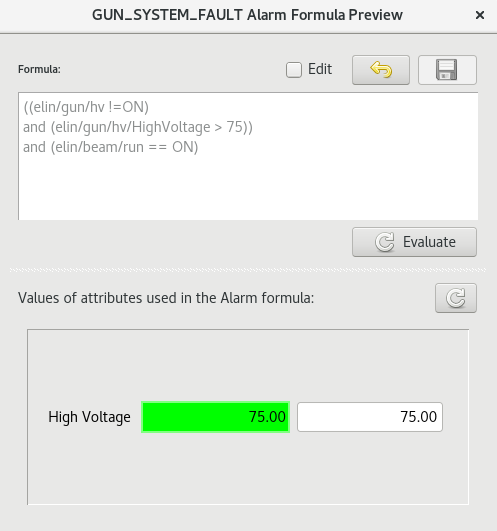
Fig. 57 Preview Formula/Values
Change Priority
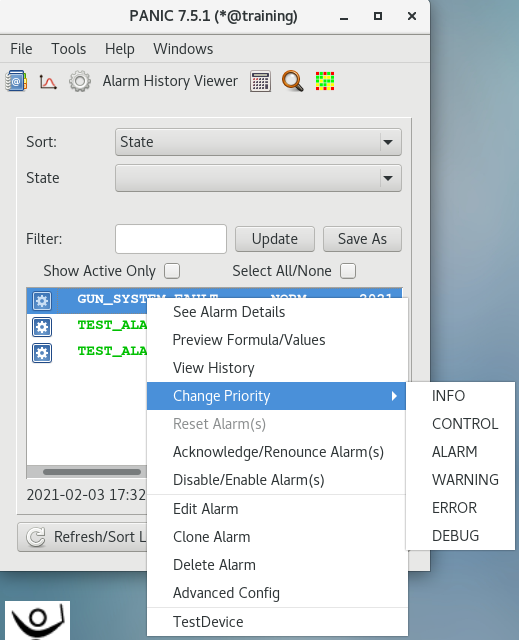
Fig. 60 Change Priority
Acknowledge/Renounce Alarm
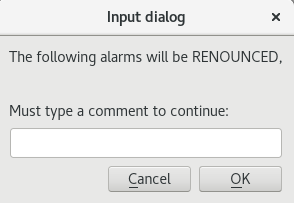
Fig. 61 Renounce Alarm
Disable/Enable Alarm

Fig. 62 Disable Alarm
Edit Alarm
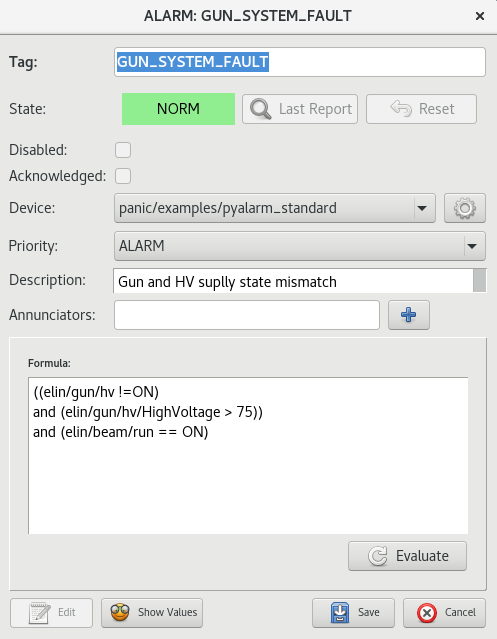
Fig. 63 Edit Alarm
Clone Alarm

Fig. 64 Clone Alarm
Delete Alarm
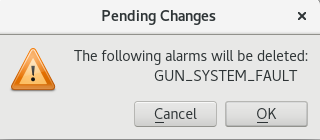
Fig. 65 Delete Alarm
Advanced Config
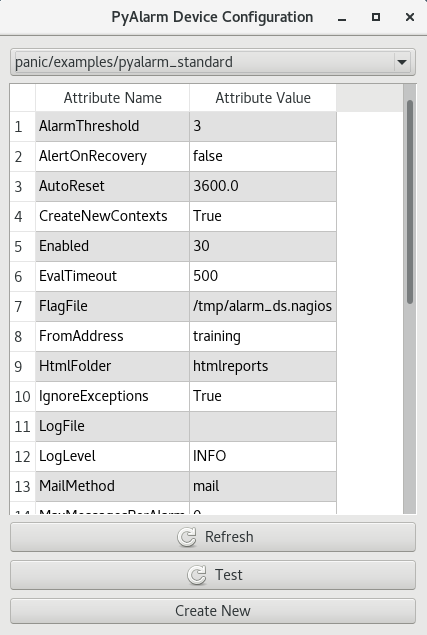
Fig. 66 Advanced Config
TestDevice
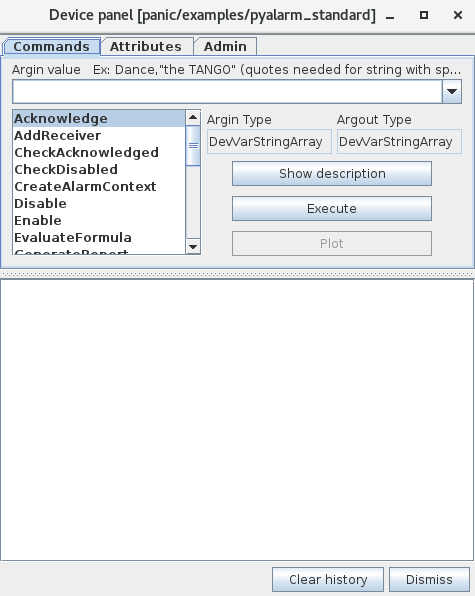
Fig. 67 Test Device
Top bar menu
Import and Export from CSV file
Application allows to import or export to CSV file configuration of alarms
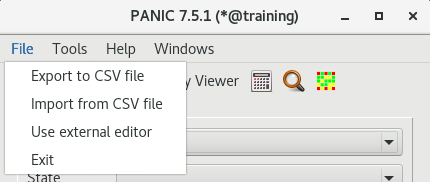
Fig. 70 PANIC GUI, File menu
Format CSV file of CSV file must contain columns:
TAG
DEVICE DESCRIPTION
SEVERITY
RECEIVERS
FORMULA
The separtaion between CSV fields shall be a tab character (t).
This is due to an alarm configuration contain semicolons(;)
and comas (,) which would otherwise interfere with CSV structure.

Fig. 71 CSV file example